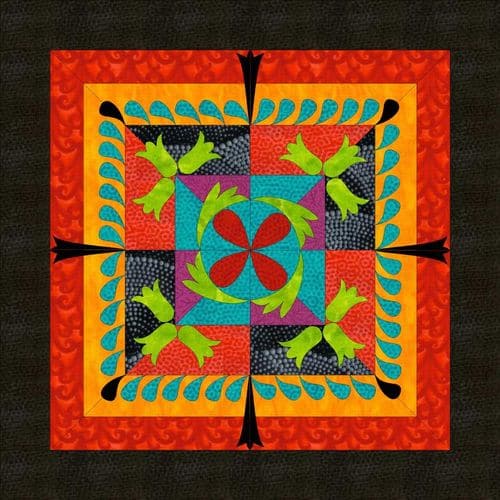
I began this quilt by designing it on EQ6.
The block is actually one quarter of an 8″ block.
In effect, I put the 4 blocks together to make one block.
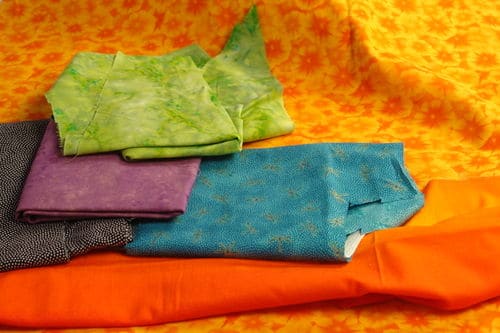
I was on holiday and once home, I had to make do with the fabrics in my stash.!!!
I cut a 10″ square of fabric for the orange background. This is larger than I need, but I prefer to cut it back after the applique has been placed.
All the other fabrics with the exception of the final two borders will be appliqued on using fusible web.
I put fusible web on the back of the next orange square… I cut a 5″ the square with the paper of the fusible web facing me, it sits better on the mat.
Next step, was to cut a 10″X1″ strip out of the black fabric which has had fusible web attached to the back.
I cut four 2 1/2″ X 1″ strips.
Then using the 45 deg angle of the ruler I cut the corners…
By the way, I LOVE the circular cutting board…. it’s on ball bearings and I just move the board rather than the fabric.
I’m actually just following the pattern… I measured it on the original, but I don’t need the pattern for placement because I’ve cut it to the right size and it just slots into the corners…

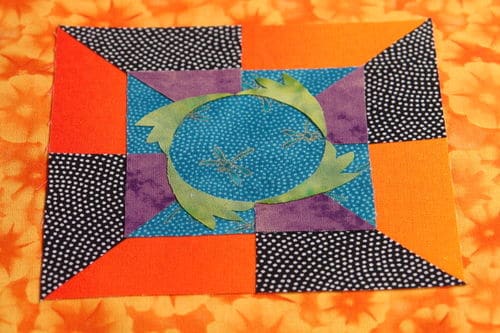
I cut a fusible backed 3″ square for the center.
Then another 3″ square of the purple…… I cut on the 45 deg angle, first in one direction and then in the next.
I discarded half of the pieces and cut 2 pieces in half again giving me smaller triangles of the purple.
I couldn’t put the purple triangles down without cutting part of the circle for the center out of them…
I placed one small triangle on the pattern and freehand drew the circle.
Next came the applique, in fact I forgot to reverse the pattern, but it doesn’t really matter.
A few hints when dealing with tiny little applique pieces…
prepare the applique, then go and do something else for 20 minutes or so.
Use tweezers to pick up the small pieces and hold them firmly and the paper generally twists off.
I sewed the next border on and prepared the black applique.
Then the fiddly stuff!!!!


oh my, that is gorgeous!
It is beautiful but, wow, so much work.
This looks bright and cheery – just like your Mexico photos. Thanks for sharing.
BTW I love your circular cutter. Is it available in Australia? I find it very frustrating at times trying to keep fabric square after rotating it. No matter how hard I try it seems to move a bit and I need to nudge it back to square.
What is the 20 min about? Getting focused? Does the adhesive change?
That’s so nice of you that you had shared its making procedure with simple steps..No doubt they are looking nice and it feels glad when one made it by his own hand..